Leather is a timeless material that adds elegance to our shoes, bags, and furniture. However, over time, wear and tear can lead to common issues. In this guide, we’ll explore simple DIY repair tips for everyday leather problems, helping you restore your favorite pieces to their former glory.
Understanding Common Leather Issues
Before diving into repairs, it’s essential to identify the most common problems you might encounter with leather items:
1. Scratches and Scuffs
Leather can easily pick up scratches from daily use. These can range from minor scuffs to deeper scratches that affect the material’s appearance.
2. Cracking and Dryness
Over time, leather can become dry and brittle, leading to cracks. This often occurs due to insufficient conditioning and exposure to harsh elements.
3. Stains and Spills
Accidental spills can lead to unsightly stains on your leather goods. Different types of stains require different approaches for effective removal.
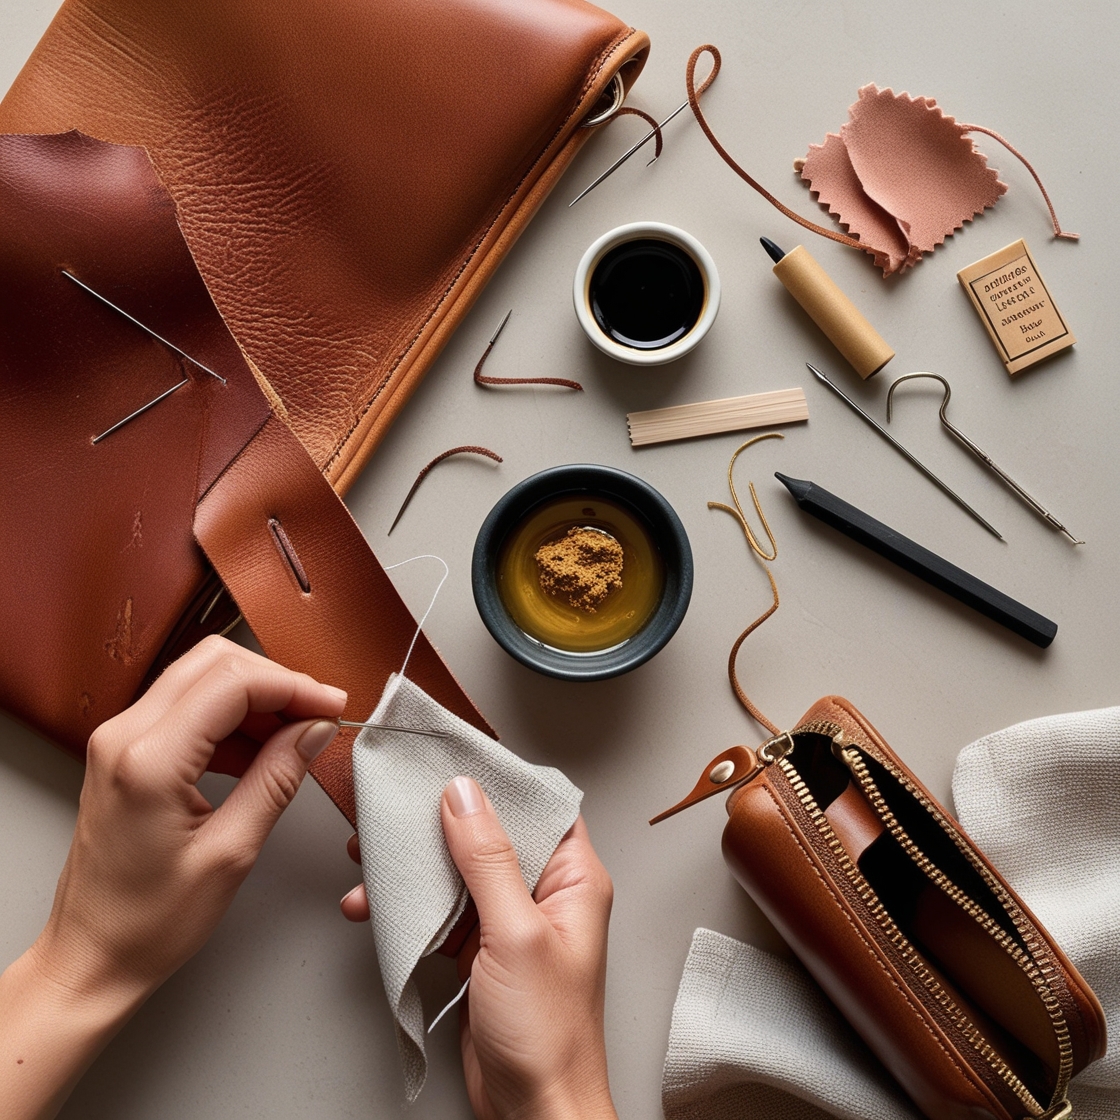
4. Loose Stitching
Frequent use can cause stitching to loosen or fray, potentially leading to further damage if not addressed promptly.
Simple Repair Tips for Everyday Leather Problems
Repairing Scratches and Scuffs
Step 1: Clean the Area
Start by gently cleaning the scratched area with a soft, damp cloth to remove any dirt.
Step 2: Use a Leather Conditioner
Apply a small amount of leather conditioner to the scratch, using a soft cloth to buff the area. This can help blend the scratch with the surrounding leather.
Step 3: Color Matching
For deeper scratches, use a leather dye or color matching cream that matches your leather. Apply sparingly and allow to dry.
Addressing Cracking and Dryness
Step 1: Clean Thoroughly
Begin by cleaning your leather with a specialized leather cleaner to remove any buildup.
Step 2: Apply Leather Conditioner
Generously apply a high-quality leather conditioner, focusing on dry and cracked areas. Allow the conditioner to soak in for several hours or overnight.
Step 3: Maintain Regular Care
To prevent future drying, make conditioning a regular part of your leather care routine.
Removing Stains and Spills
Step 1: Blot the Spill
For liquid spills, immediately blot (do not rub) with a clean, dry cloth to absorb as much as possible.
Step 2: Use Appropriate Cleaners
Depending on the stain, you may need a specific cleaner. For example, use a mild soap solution for water-based stains and a leather cleaner for grease.
Step 3: Test First
Always test any cleaner on a hidden area of the leather to ensure it doesn’t cause discoloration.
Fixing Loose Stitching
Step 1: Assess the Damage
Check the stitching carefully to determine if it’s just loose or if it has completely come undone.
Step 2: Use a Needle and Thread
For loose stitching, use a needle and thread to carefully sew the area back together, matching the original stitching as closely as possible.
Step 3: Secure the Ends
Tie off the thread securely and trim any excess to prevent future fraying.
Conclusion: Keep Your Leather Looking Great
With these DIY leather repair tips, you can tackle common issues and keep your leather goods looking great for years to come. Regular maintenance, including cleaning and conditioning, is essential to prolonging the life of your leather items. By addressing problems promptly, you can ensure your leather remains a cherished part of your wardrobe.
Additional Tips for Leather Care
- Store Properly: Always store leather in a cool, dry place away from direct sunlight to prevent fading and cracking.
- Use a Leather Protector: Consider applying a leather protector spray to shield against stains and water damage.
By incorporating these practices into your routine, you’ll preserve the beauty and integrity of your leather goods, making them last for generations.