Leather crafting is an art that combines technique and creativity. Two key methods for adding color to leather are dyeing and painting. Each technique has its unique benefits and applications, allowing you to achieve the perfect look for your leather projects. This guide will help you understand the differences between dyeing and painting and how to use them effectively.
Understanding Dyeing vs. Painting
When it comes to adding color to leather, dyeing and painting are two popular methods. Here’s how they differ:
What is Dyeing?
Dyeing involves penetrating the leather with color. The dye soaks into the leather, changing its color from within. This method is preferred for items that will bend or flex, such as belts or bags.
Advantages of Dyeing:
- Long-Lasting Color: Since the dye penetrates the leather, it won’t easily fade or rub off.
- Flexibility: The color will move with the leather, preventing cracks and preserving the appearance over time.
Usage Tip: Ensure the leather is clean and slightly damp before applying the dye for even absorption.
What is Painting?
Painting applies color pigments to the surface of the leather. It creates a layer of color that sits on top of the leather, rather than soaking in. This method is great for adding intricate designs or bright colors to leather that won’t be frequently bent or flexed.
Advantages of Painting:
- Vibrant Colors: Paint allows for bold, vivid colors and detailed designs.
- Surface Design: Ideal for creating artistic patterns and custom designs on leather surfaces.
Usage Tip: Apply a leather primer before painting to ensure better adhesion and durability.
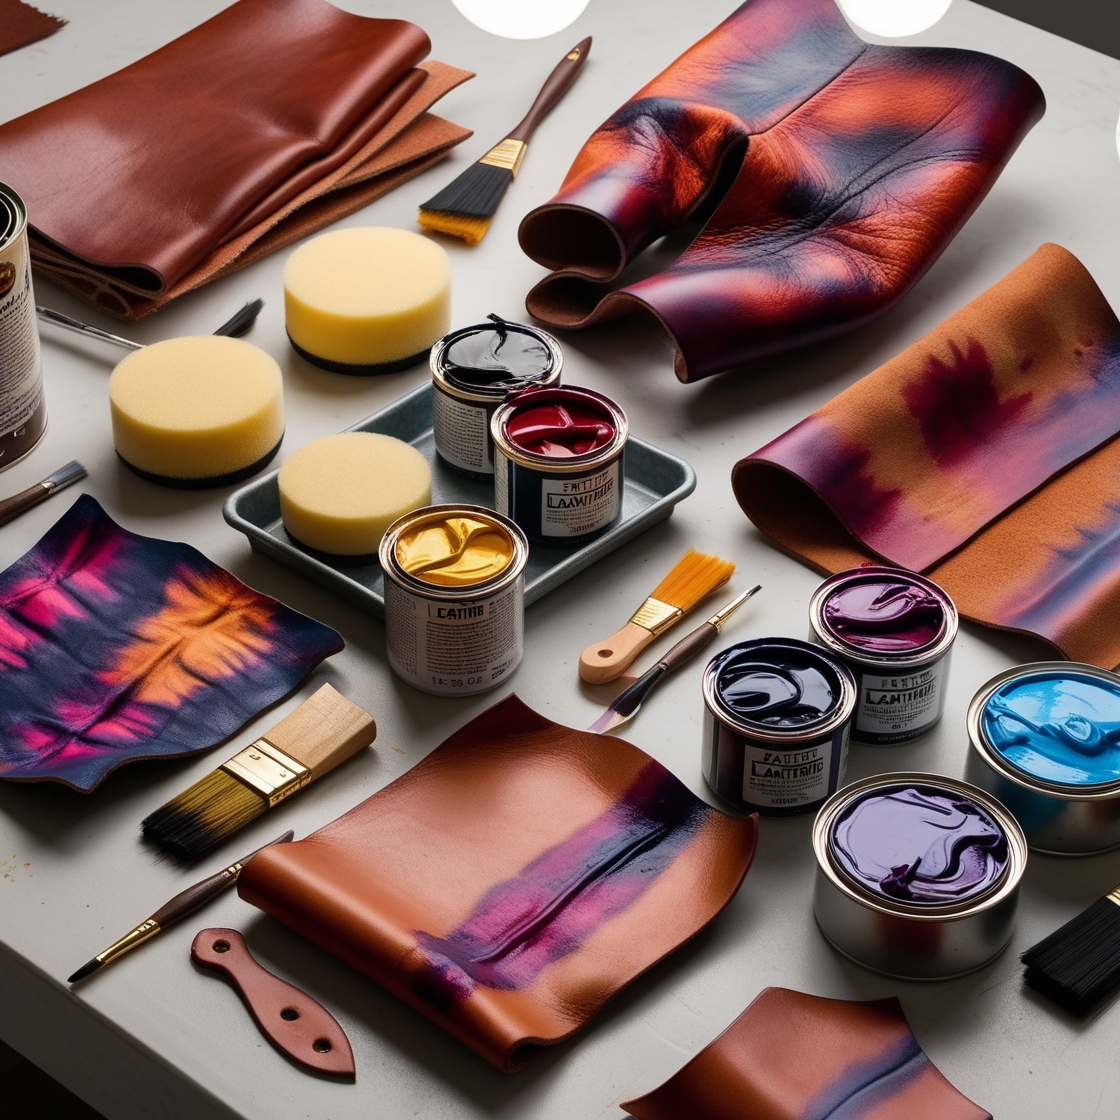
Essential Tools and Materials for Dyeing and Painting
To achieve the best results with dyeing and painting, you’ll need the right tools and materials:
Dyeing Tools
- Leather Dye: Purpose: Provides a deep, long-lasting color. Usage Tip: Use a sponge or brush to apply dye evenly and work it into the leather.
- Applicators: Purpose: Helps in applying the dye precisely. Usage Tip: Choose applicators that allow for controlled, even application.
- Sealers: Purpose: Protects the dyed leather from water and stains. Usage Tip: Apply a leather conditioner or sealer after dyeing to lock in the color.
Painting Tools
- Leather Paint: Purpose: Adds vibrant, surface-level color. Usage Tip: Opt for high-quality leather paint that is flexible and durable.
- Brushes and Sponges: Purpose: Used to apply paint and create designs. Usage Tip: Use different brush sizes for detail work and broad strokes.
- Leather Primer: Purpose: Enhances paint adhesion and durability. Usage Tip: Apply a thin layer and let it dry before painting.
Casing Leather: Preparing Your Surface
Before applying dye or paint, it’s crucial to prepare the leather properly. Casing leather, or moistening it, ensures that the leather is in the ideal condition to absorb color evenly.
Purpose: Casing leather involves dampening the surface to make it more receptive to dye or paint. This step helps in achieving a more uniform application and prevents streaks or blotches.
Usage Tip: Lightly dampen the leather with a spray bottle or damp cloth, making sure it’s evenly moistened but not soaked. Allow it to become pliable before starting the dyeing or painting process.
Step-by-Step Guide to Dyeing Leather
- Prepare the Leather:
Clean the leather to remove any dirt or oils. Lightly dampen it if necessary. Tip: Use a clean cloth to ensure an even surface. - Apply the Dye:
Use a sponge or brush to apply the dye. Work in small sections to ensure even coverage. Tip: Apply multiple thin layers for a deeper color. - Dry and Seal:
Let the leather dry completely before handling. Apply a leather sealer to protect the color and finish.
Step-by-Step Guide to Painting Leather
- Prepare the Leather:
Clean and prime the leather surface. Tip: Ensure the surface is dry and smooth before starting. - Apply the Paint:
Use brushes or sponges to apply the paint. Work slowly and carefully to achieve clean lines and details. Tip: Allow each layer to dry before applying additional coats. - Finish and Protect:
Let the painted leather dry completely. Apply a clear topcoat to protect the design and enhance durability.
Read more about How to Stamp & Tool Leather: Easy Pattern Guide
Conclusion
Dyeing and painting are powerful techniques that can transform your leather projects. By choosing the right method and tools, and properly preparing your leather through casing, you can achieve vibrant, lasting colors and stunning designs. Dyeing is perfect for flexible items, while painting allows for artistic expression on more rigid surfaces. Master these techniques to elevate your leather crafting and create beautiful, unique pieces.
Explore our collection of leather dyeing and painting supplies to get started. Embrace the art of coloring leather and bring your creative visions to life!