Gluing leather pieces together is a crucial step in leather crafting. It ensures that your creations are not only functional but also visually appealing. This guide will walk you through the essential steps for gluing leather effectively, helping you achieve strong, seamless bonds in your projects.
Why Gluing is Essential in Leather Crafting
Gluing serves several vital purposes in leather crafting:
- Strength: Properly glued leather pieces create a durable and robust finished product.
- Seamlessness: Gluing can eliminate gaps and create a smooth, professional appearance.
- Efficiency: It simplifies the assembly of complex leather items, such as bags and belts.
Mastering the art of gluing will enhance the overall quality and longevity of your leather projects.
Essential Tools and Materials for Gluing Leather
To achieve the best results, you’ll need the right tools and materials:
- Leather-Specific Glue
- Why Choose Leather-Specific Glue?Leather-specific glue is specially formulated to bond leather effectively. It provides a strong hold and remains flexible after drying, which is crucial for leather items that need to move or flex.Benefits: Ensures a strong, flexible bond.Usage Tip: Always use a thin layer to avoid excess glue seepage.
- Applicator Brushes or Sponges
- Application ToolsUsing an applicator brush or sponge helps you apply the glue evenly. This ensures that both surfaces are adequately coated.Benefits: Allows for precise and even application.Usage Tip: Clean the brush or sponge thoroughly after use to avoid glue buildup.
- Clamps or Weights
- Securing the BondAfter applying the glue, you need to press the leather pieces together firmly. Clamps or weights help keep the pieces aligned while the glue dries.Benefits: Provides consistent pressure for a strong bond.Usage Tip: Use clamps or weights that distribute pressure evenly across the glued area.
- Leather Types for Crafting
- Choosing the Right LeatherDifferent types of leather can affect how well the glue adheres and performs. Ensure you select the appropriate type of leather for your project to achieve the best results.Benefits: Ensures compatibility and optimal bonding.Usage Tip: Consult with leather suppliers or crafting guides to choose the best leather type for your specific project.
Step-by-Step Guide to Gluing Leather
Follow these steps for a flawless gluing process:
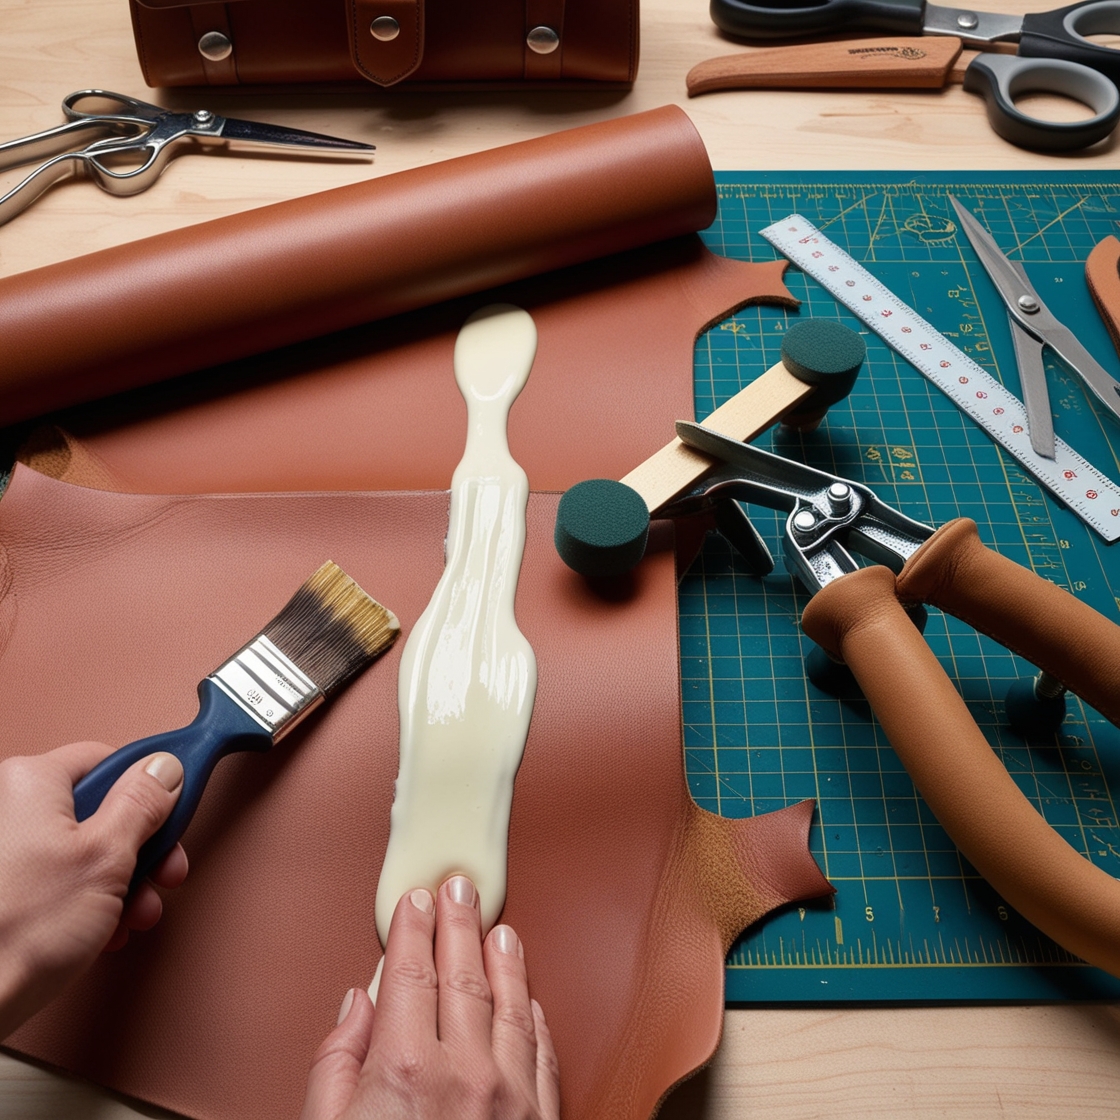
- Prepare the LeatherBefore you start, make sure both leather surfaces are clean and dry. Any dust or oil can interfere with the glue’s effectiveness.Tip: Wipe the surfaces with a damp cloth and let them dry completely before applying glue.
- Apply the GlueApply a thin, even layer of leather-specific glue to both surfaces. Be careful not to over-apply, as excess glue can cause lumps and affect the finish.Tip: Use an applicator brush or sponge for a smooth, even coat.
- Press and HoldPress the leather pieces together firmly. Use clamps or weights to maintain pressure while the glue sets.Tip: Ensure that the pieces are aligned correctly before applying pressure.
- Allow to DryLet the glued leather pieces dry for at least three hours. This drying time ensures that the bond is strong and durable.Tip: Avoid handling the glued pieces during the drying period to prevent shifting or misalignment.
Read more about How to Cut Leather: Essential Tips & Techniques
Conclusion
Gluing is a fundamental technique in leather crafting that contributes significantly to the strength and appearance of your projects. By using leather-specific glue, applying it evenly, and allowing it to dry thoroughly, you can achieve seamless and durable results. Follow these steps to enhance the quality of your leather creations and ensure they stand the test of time.
Explore our range of leather gluing tools and find everything you need for your next project.